Overview of the Post Editor - how to create posts
Post Editor
The post editor is where journalists or contributors create and manage posts, add media content, and apply tags and importance level to posts. This is also where all the text formatting and add-on features for posts such as comments, and extensions are managed.
Since this is the section where users will spend most of their time it is important that anyone using the solution is familiar with the editor and its features before a channel goes live and content is published to readers.
Layout
The editor is organized into two main areas:
The left-hand side Editor containing tools and features for creating, managing, saving and publishing posts
The right-hand hand side contains the preview of posts that are being created and a feed of posts that have been published
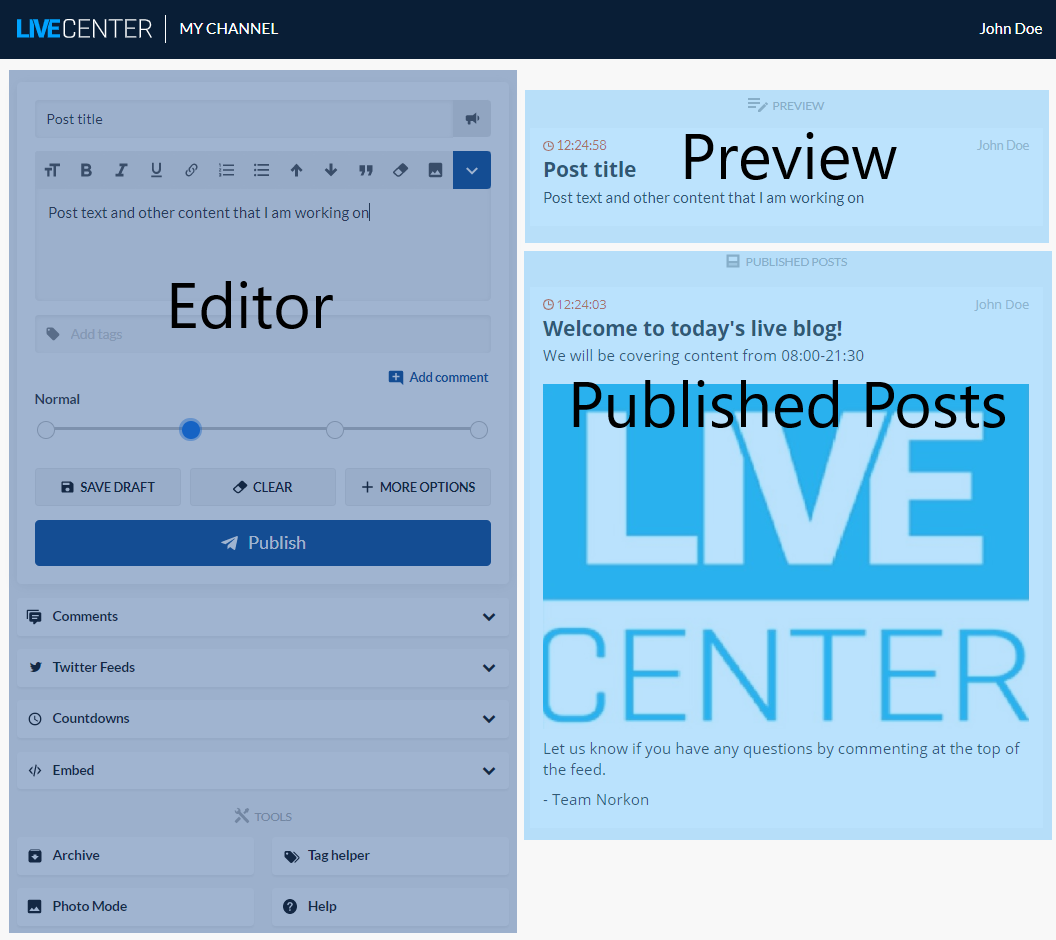
Editor
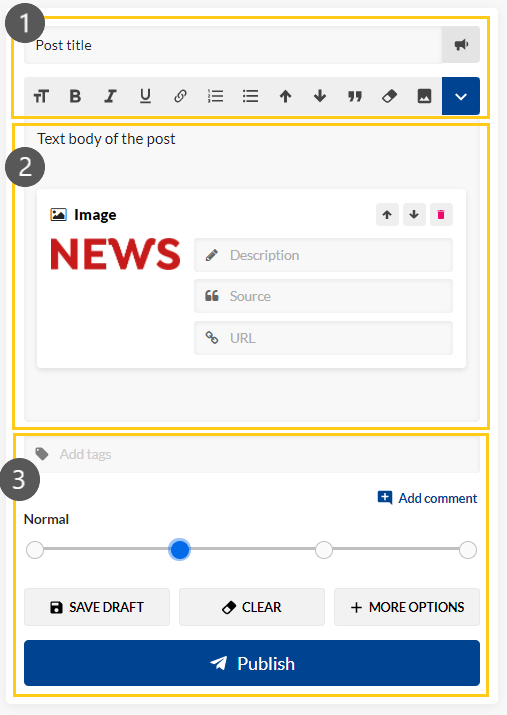
The editor contains:
1. An upper input area where the title of the post is entered and a formatting banner with tools for formatting the post can be found
2. Text box where the main body of the post including text, external objects such as social media, videos, advertisements, etc. are entered
3. Lower input area where additional information such as tags, attached links, etc. can be added and posts can be cleared, saved as drafts, published, and more
Creating posts
To create a new post, navigate to the Live Center Editor and begin at the top of the post with creating your post title.
Posts can be published without titles, however, a best practice is to include a post header because any Twitter relay (i.e. automatic posting to Twitter) only tweets the post title, and therefore will not relay to twitter if the title is omitted.
If the post is important, or you wish to highlight the post for your readers, you can click the megaphone icon which will highlight the post title.

Right below the Title, you will find the formatting banner which contains tools to structure, format text, and embedded objects such as images, Twitter tweets, YouTube videos, and advertisements.

Header
Click the T button to make that text a header in the post.

Bold
Click the B button to bold the text.

Italic
Click the I button to italicize the text.

Underlined
Click the U button to underline the text.

Hyperlinks
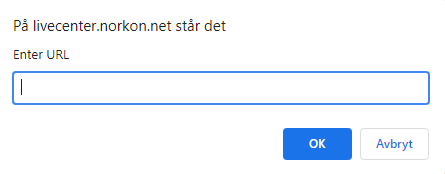
Select any text and click the link button to hyperlink a text.

Enter the address to the page which to link to.
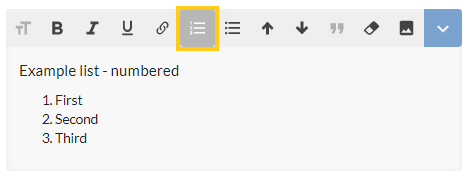
Numbered list
Click the numbered list icon to create a list.
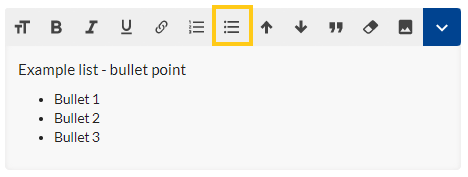
Bullet points
Click the bullet point icon to create a list of bulleted text.
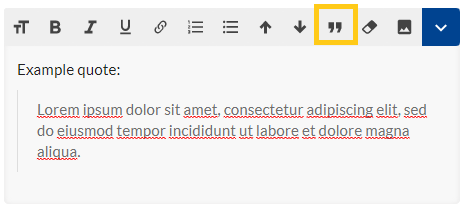
Quote
Click the quote button to create a quotation section to highlight for readers what was said.
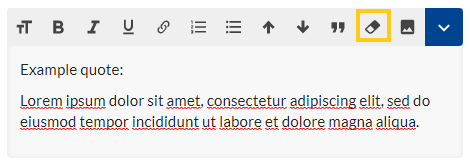
Remove formatting
To remove any bolded, italicized, or underlined formatting from a text that has been pasted into the editor from another source such as Word, Excel, or a website, select the text and click the Remove Formatting button to clear out any formatting.
Quick image upload
To quickly upload an image from your desktop, or image library such as Dropbox or Icloud on mobile, click the Image icon in the banner. This will open the image upload feature and once an image has been selected, it will be added to the post.

Saving a draft
Posts can be created and then saved as drafts to be continued on later, or to be published at a later time. This feature also allows for different scenario posts to be created (e.g. in head of an election) to allow a quick post to be published when results are known.
After a post has been created, to save it as a draft, click the Save draft button underneath the post
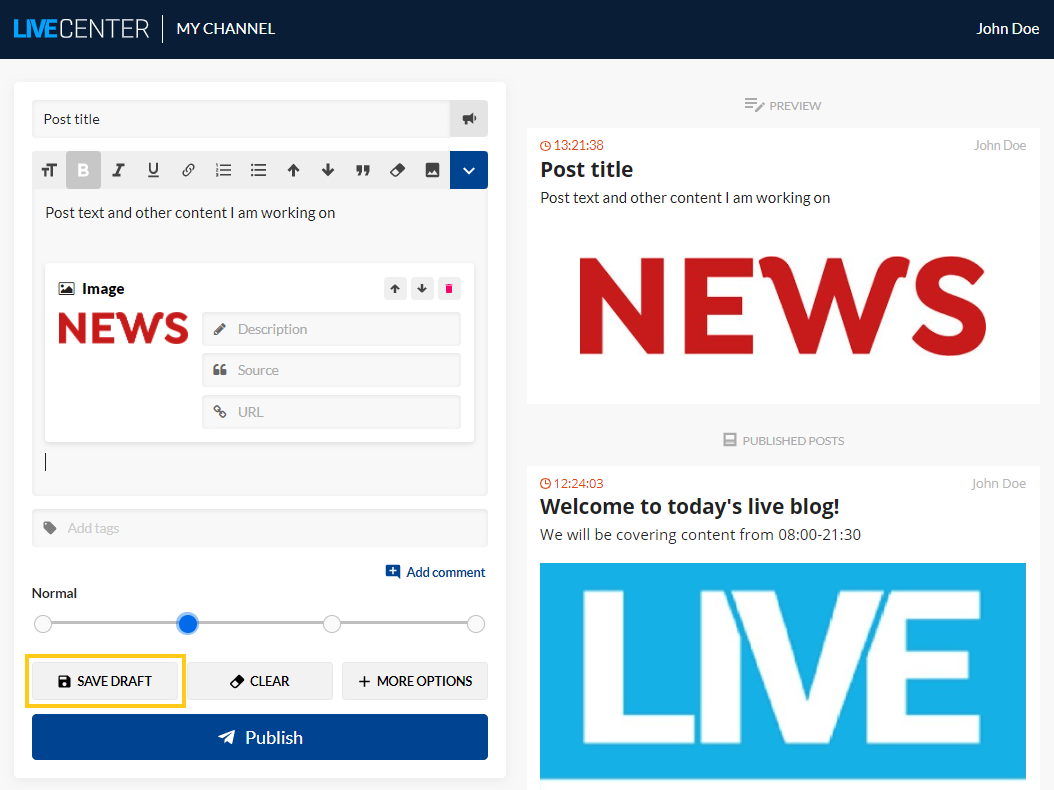
The post is then saved as a draft and can be viewed below the editor. From here, a user can either
- Continue working on the post by clicking Edit
- Publish the post directly by clicking Publish
- Copy the post, which will populate the editor with a copy of the post while leaving the draft
- Delete the draft or;
- Fill in the timer to publish at a later time
Preview
To help journalists and contributors more easily make decisions on post structure, formatting, and layout, a real-time preview is provided right next to the post that is being created.
The preview shows how the post will look for readers once it has been published, and since it updates for every character or change that is made, it gives instant feedback to the user.
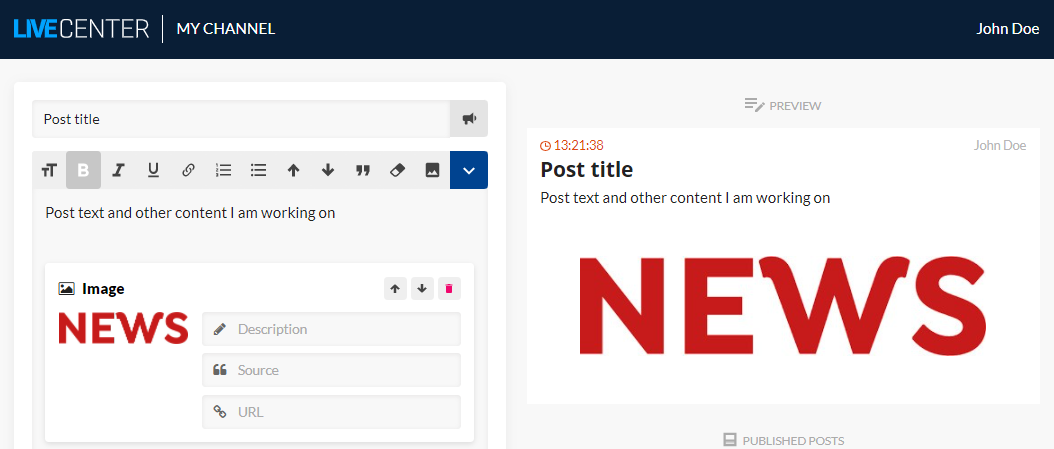
The preview will present any embedded object such as Twitter tweets, YouTube videos, extensions, or embedded advertisements as how they will appear to the reader. This further helps users to better structure the objects together with any text.
Note: Based on how your Live Center channel is embedded on your website, and how you have formatted the feed, the post might appear differently to your reader than how they look in the preview.
I.e. if you have made a design change for the font, channel width, background color, etc. of the feed on your site for it to better match your overall website design, then those changes will not be viewable inside the editor.
Pinned posts
Posts that have been published to a feed can be pinned to the top which will keep them from being pushed down by other later posts. Apply a pin to a post by first publishing it and then hover over the published post to expand the options menu for it. Click Pin to pin the post to the top.
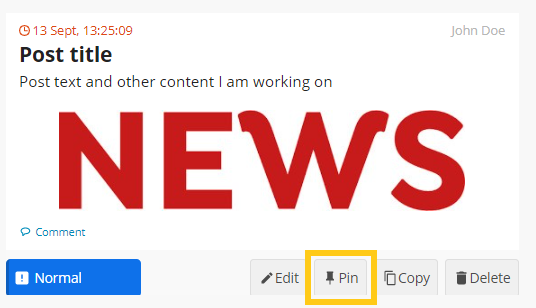
Pinned posts will remain pinned until the pin is removed again. They appear an orange color, always at the top of the feed. You can remove the pin by clicking the pinned button after hovering over the post.
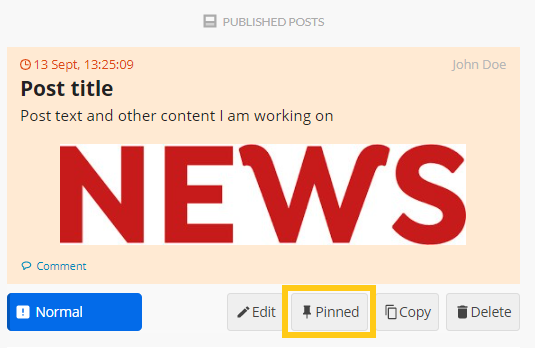
Multiple Pinned Post
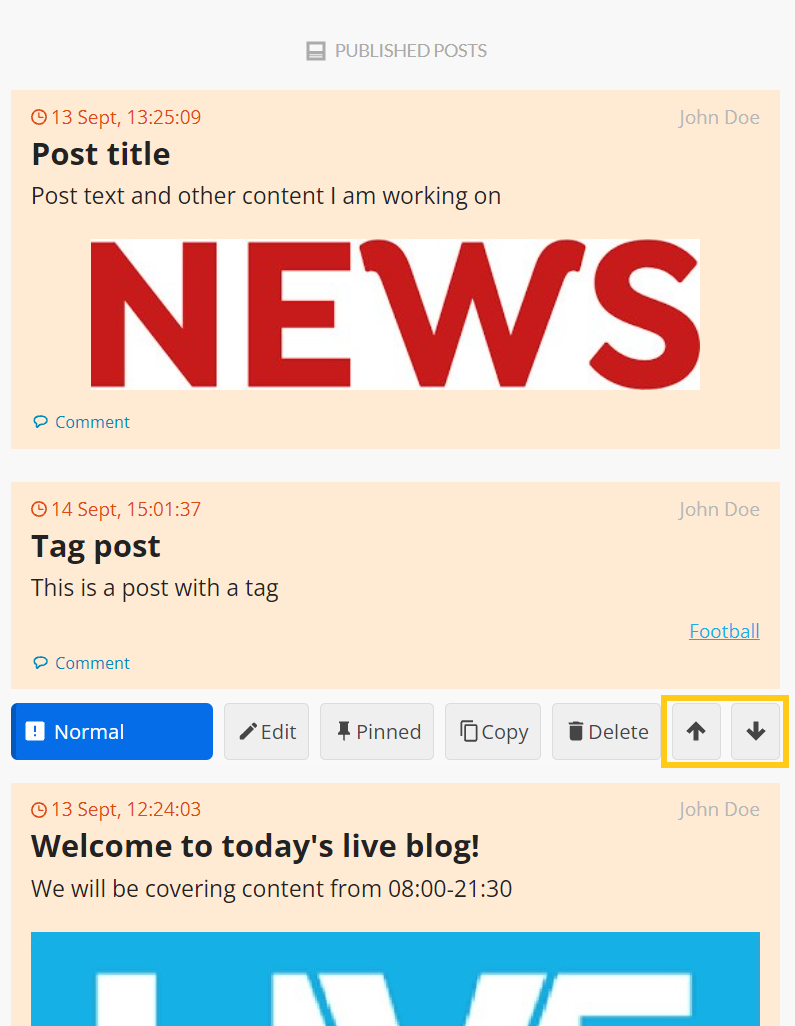
There is also the option to turn on multiple pinned posts, if desired please contact us at support@norkon.net and we will help you get started. This allows you to pin an indefinite amount of posts. Click the arrows to change the order of the multiple pinned posts after hovering over the post.
Additional post options and details
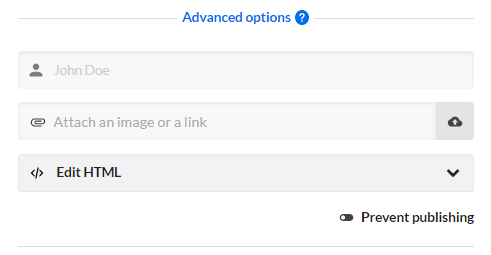
Lastly, there are additional details you can change and add to posts before they are published by clicking the More options button.
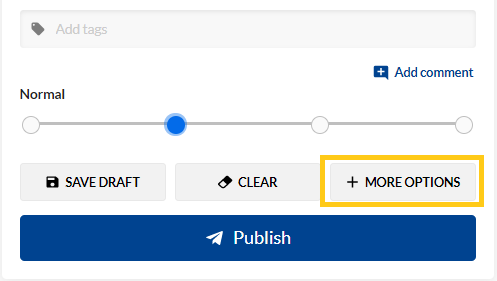
Once expanded, you are given the following options:
- Attach an image or link will add a picture, or a link to an external source, as an object at the bottom of the post.
- Adding links to a full length article, or longer content piece in a post is a great way to redirect traffic to other parts of your website.
- Change author name allows you to add a different author name than what is automatically populated through your user profile.
- Edit HTML gives you a view of all the applied HTML code of the post
- Prevent publishing allows you to save a post as a draft and not risk that anyone publishes it by mistake before the prevention is toggled off again. An example of why this feature can be important can be found here
